

Asheville Farm Tips and Ideas
How to Make a Simple, Low Cost (Free), DIY, Roll-Away Egg Nesting Box
THE PROBLEM WE WERE TRYING TO SOLVE:
We had a spell where some of our hens weren't laying daily. Since we had gotten lax about collecting the eggs promptly throughout the day, we suspected that one or more of the hens may have started eating their eggs. And that would be a real problem because, once this bad habit takes hold, it is apparently difficult to stop. We watched a video that shows how to make a DIY roll away nesting box out of wood. But the fellow mentioned a concern that his hens may be reluctant to use this system. Rather than doing all that work and have our hens ignore it, we wanted to make a quick and easy experimental nesting box based loosely on the video's design. Here's what we did:
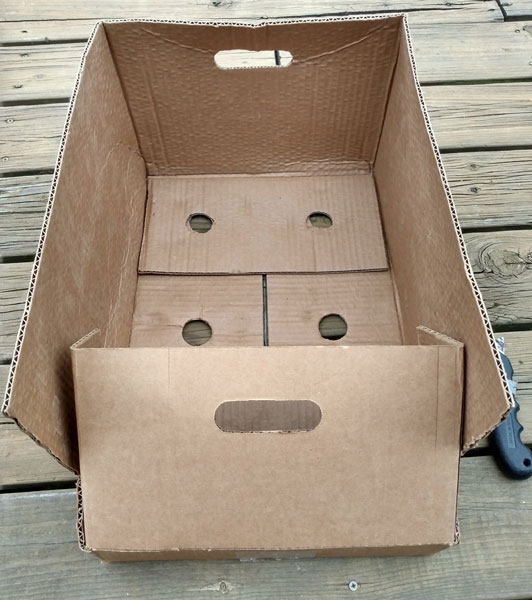
▲ Here is our final result. And here are the steps for making it. ▼
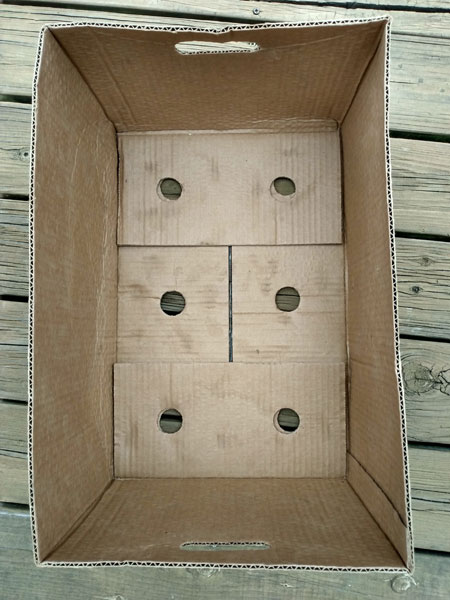
We started with the bottom of a potato packing box from the grocery store.
Our's happened to measure 19" long, 12.5" wide and 10" deep and seemed about right.
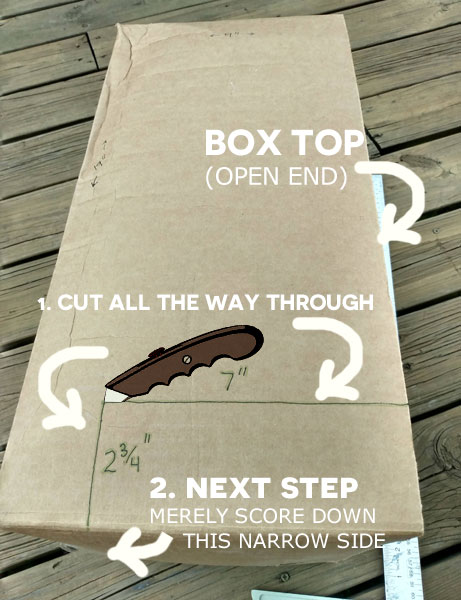
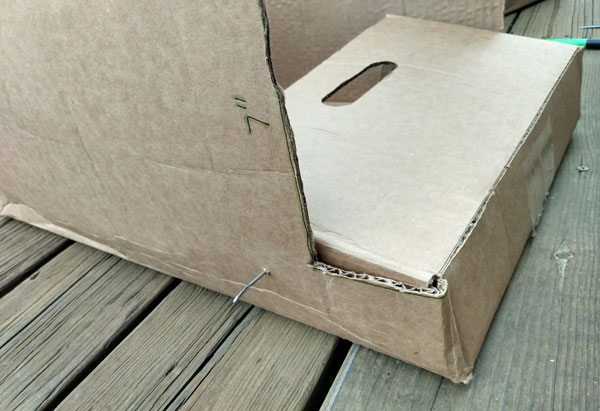
Step 1. Cut all the way through the cardboard along the green lines on this and the opposite 'side' panels.
In the next step, you'll lightly 'score' the panel between where the green lines end on this and the opposite side.
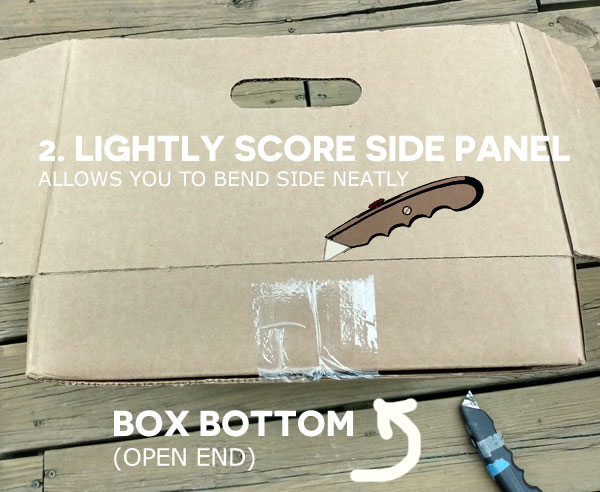
Step 2. Don't cut too deeply. We are merely scoring the cardboard between the to cut 'side' panels. We want this 'back' panel to bend cleanly but stay in tact.
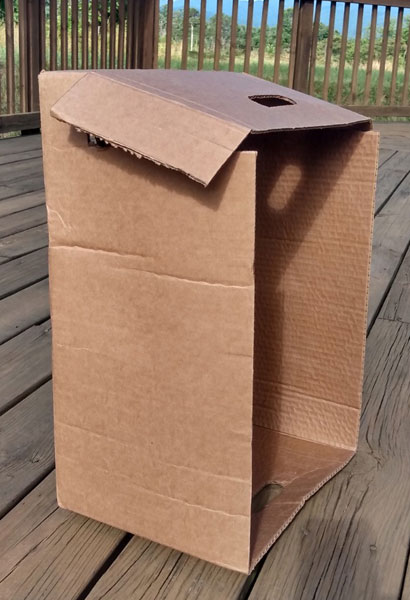
It's starting to take shape after we tuck in the flaps.
Step 3. To tie these sections snuggly together, we used our 'speedy stitch' awl. (We didn't want to use staples or anything that might come loose and get eaten by the chickens. And we tried glue and carpet tape but those didn't hold.)
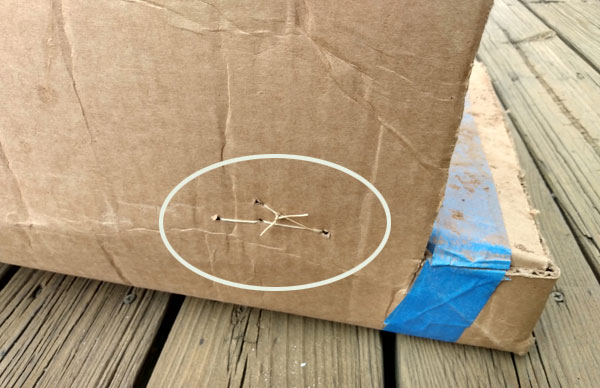
You can see our rough stitching job.
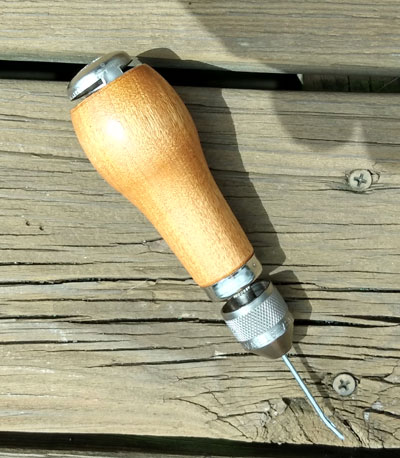
We use the speedy stitch awl for repairing tarps, shoes and all sorts of tough sewing tasks.
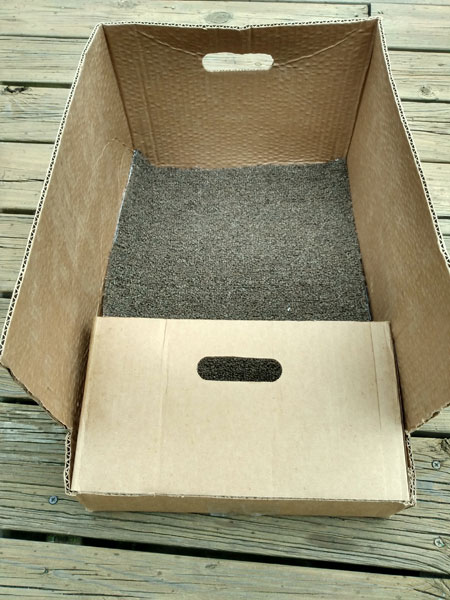
Step 4. Line the entire bottom of the box with a strip of indoor/outdoor carpeting so 1) the hens don't slide around, 2) it may be more comfortable for the hens to sit on when laying eggs and 3) it's removable so you can shake it out when it becomes soiled.
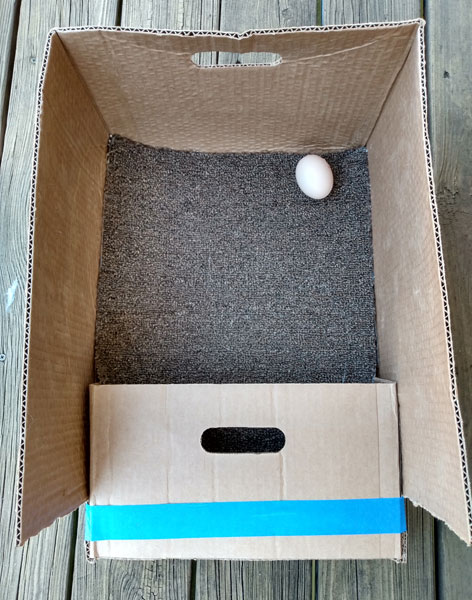
Step 5. To communicate the purpose of this box to the hens, we 'seeded' it with a plastic egg (that is filled with water using a syringe. We then sealed the tiny water-injection and air-release holes with dabs of silicone). The decoy egg is taped down with double-stick carpet tape.
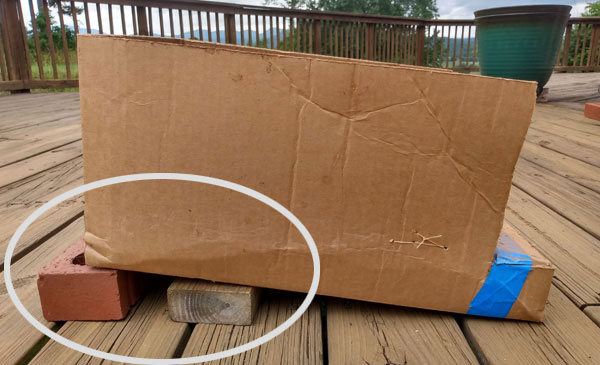
Step 6. Raise the back of the nest box slightly so that the box is stable and the eggs roll down into the hidden section.
Our final result!
CONCLUSION:
The first couple days this box was in the coop, it got a little use, but more eggs were laid outside of it than inside. Since that was a while back, we're going to rerun the experiment starting July 10, 2020 and post an update in one week. Please check back then. And if you have suggestions for improvement, please email them to us at [email protected].
Thanks for visiting!
AshevilleFarm.com
